For many homeowners, tackling the greasy buildup in the kitchen is a tiresome but essential chore. The stovetop is spotless one day, only to be coated in a sticky layer of grime the next. Buildup on countertops, hoods, and even cabinet doors accumulates stealthily with splashes of oil and daily cooking. We often rely on chemical-heavy degreasers or abrasive solutions that not only emit strong odors but can also damage surfaces or irritate the skin.
The good news? There’s a smarter, more natural way to wipe grease out of your kitchen using a cleaning technique that’s growing in popularity—and it doesn’t rely on harsh chemicals. This method has stunned homeowners by blending effectiveness with safety, leaving behind a sparkling clean surface without the headache of chemical exposure. For those who love practical, eco-friendly solutions and a gleaming stove, this guide walks you through the method, tools, and tips that are transforming kitchen cleanups nationwide.
From understanding the science of emulsifying oils to discovering the power of one simple household ingredient, learn how this one-swipe solution can make your cleaning routine easier, safer, and even enjoyable.
Key details at a glance
| Technique Name | Emulsification Cleaning Method |
| Main Ingredient | Dish Soap (Degreasing Formula) |
| Best For | Kitchen grease, stove tops, cabinets, hoods |
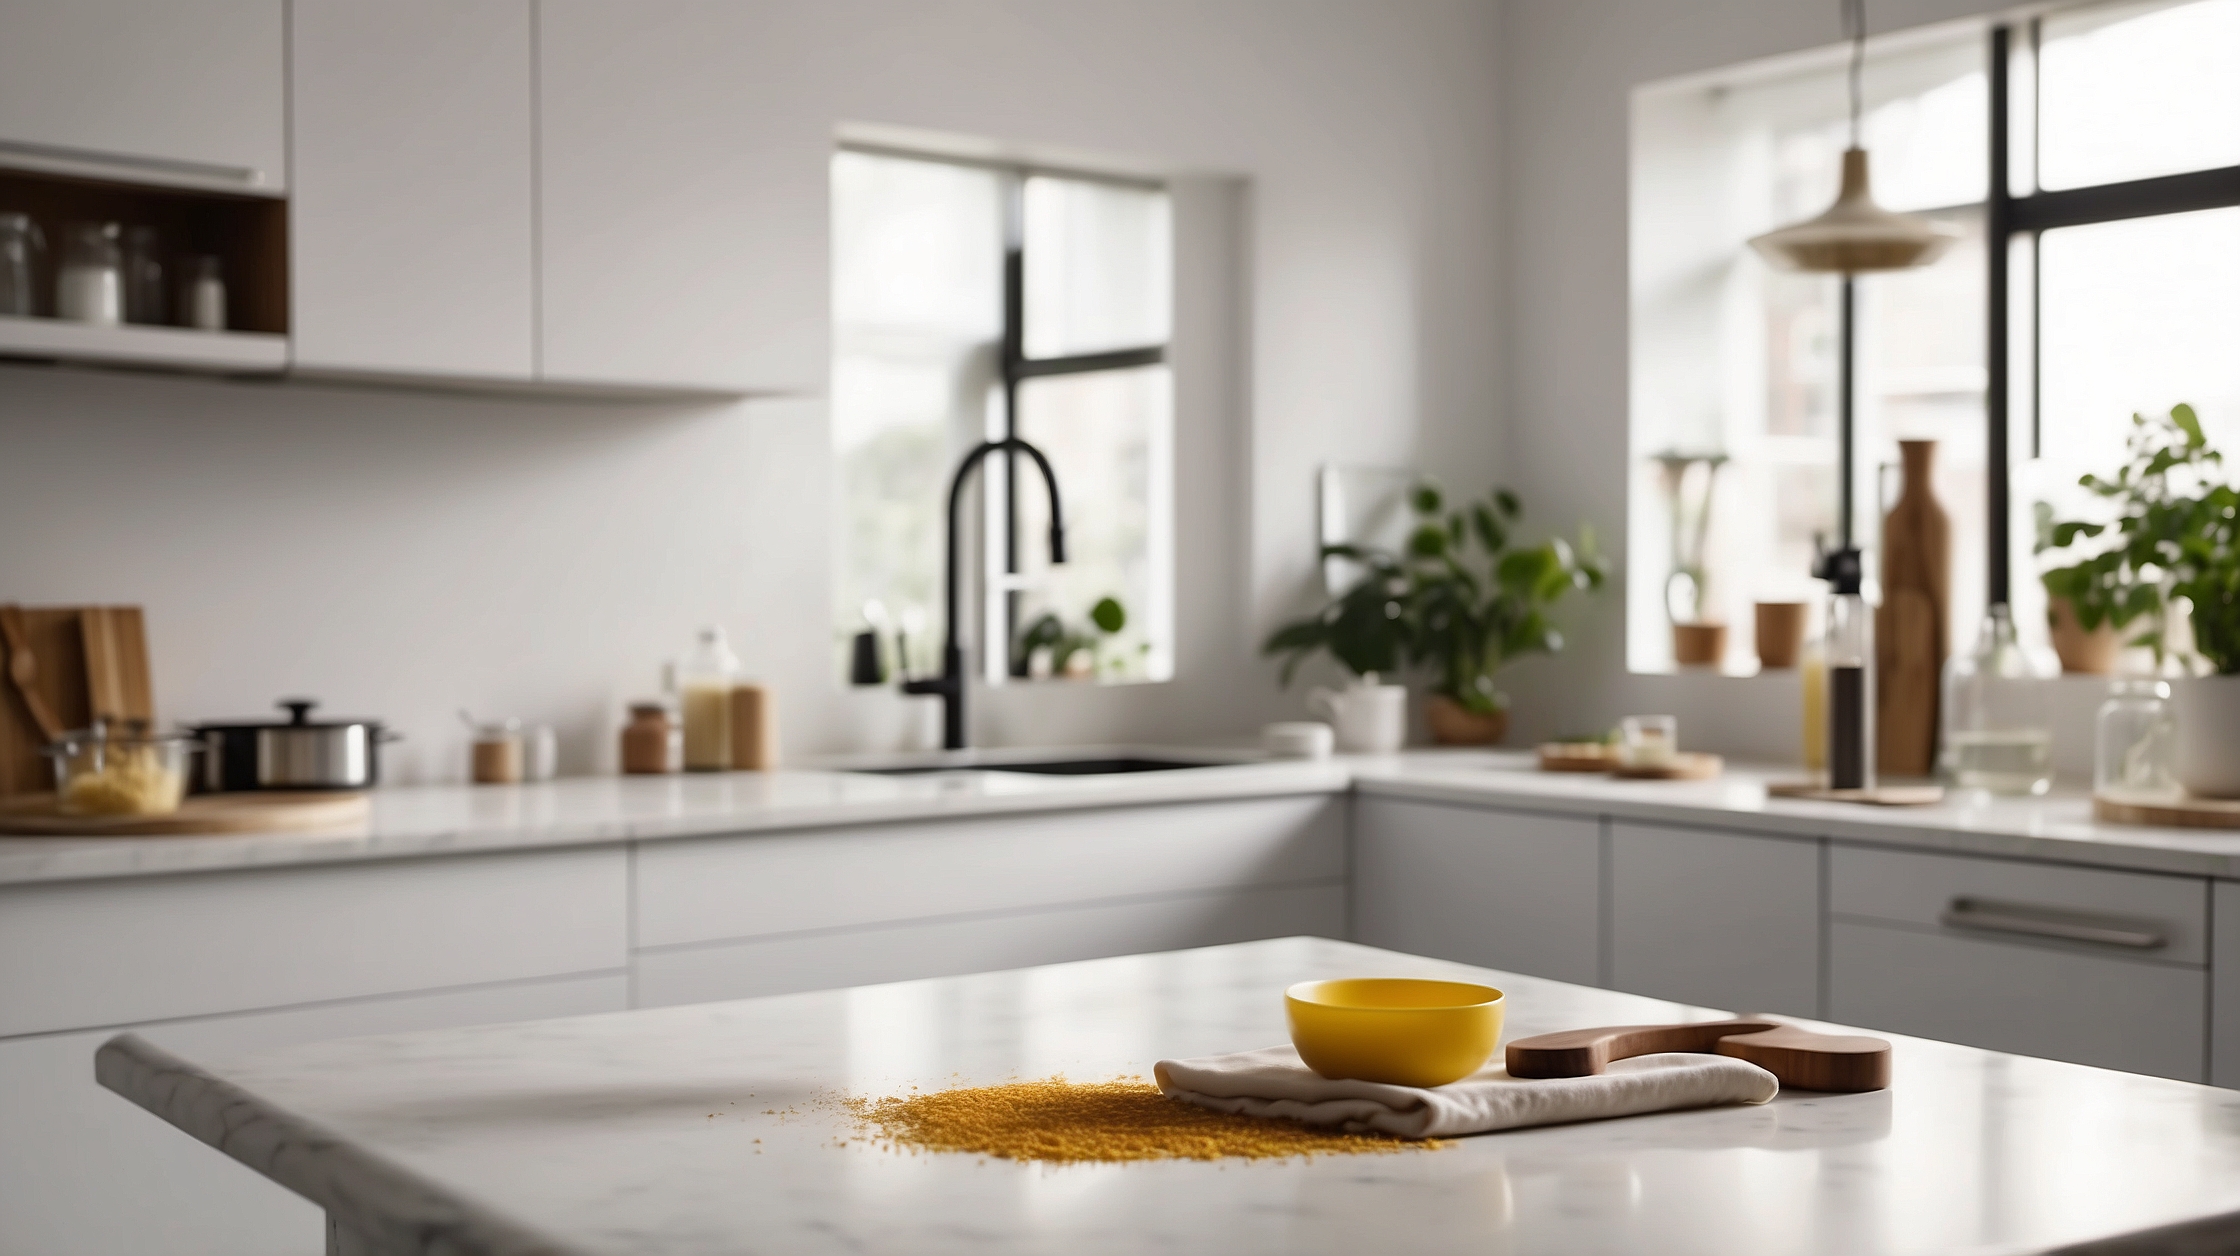
| Tools Required | Microfiber cloth, warm water, spray bottle |
| Eco-Friendly? | Yes – Non-toxic and chemical-free options available |
| Time Required | 10–25 minutes (depending on surface area) |
| Odor | Mild to neutral, no harsh chemical smell |
Why your kitchen accumulates grease faster than you think
Kitchen grease doesn’t always come from big spills or splatters. Even regular frying or sautéing releases oil particles into the air, which settle on nearby surfaces over time. Once airborne oil combines with dust, the result is a sticky film that clings stubbornly to cabinets, counters, and walls.
Traditional cleaning agents might remove the surface layer, but rarely penetrate the oil bonds without aggressive scrubbing. And the more frequently you cook, the faster those layers rebuild—especially near the stove or overhanging range hood. This buildup not only dulls the shine of your surfaces but also traps bacteria and unpleasant odors.
The truth about chemical degreasers
Most commercial degreasers are designed to cut through kitchen grime effectively, but they achieve this power using strong chemical compounds like sodium hydroxide, ammonia, or chlorine-based agents. These substances may result in a powerful clean, but they pose significant risks—skin irritation, breathing difficulties, and surface erosion among them.
In sensitive households with pets, children, or allergy-prone individuals, it’s not unusual for these products to cause headaches or respiratory discomfort. Also, improper use or residue could corrode appliances or damage wood and painted finishes.
“People are becoming more mindful of what they spray in their homes. A natural degreasing technique not only protects surfaces but also protects your air quality and skin.”
— Lisa Dresden, Eco-Cleaning Specialist
The science behind natural emulsification
So what makes this DIY natural method special? The answer lies in emulsifying grease. Much like salad dressings that evenly suspend oil and vinegar, emulsifiers allow water and fats to blend. Simple degreasing dish soap carries emulsifying agents that break down the grease molecules and bind them to water, making them easier to wipe away without scrubbing.
By mixing a small portion of dish soap with warm water and applying it via a spray bottle, the solution softens hardened stains and gently lifts the grease without scratching or dulling the finish. This method is particularly ideal for surfaces like stainless steel, laminated wood, ceramic tiles, and glass.
How to clean grease naturally, step-by-step
Ready to try the emulsification technique on your greasy kitchen messes? Here’s the simple process:
- Take a clean spray bottle and fill it with two cups of warm water.
- Add 1 teaspoon of concentrated degreasing dish soap (preferably citrus-based).
- Shake gently to combine the solution.
- Spray the greasy surface generously, allowing it to sit for 2–3 minutes.
- Use a microfiber cloth to wipe the surface in small circular motions.
- For stubborn grime, repeat or apply with a soft-bristled scrub brush.
- Rinse with a damp clean cloth and dry.
For extra shine or fragrance, consider adding a drop of essential oil safe for household use like lemon or tea tree. However, always spot test before applying to surfaces like unfinished wood.
Where it works best and what to avoid
This cleaning method is especially effective on:
- Stove hoods and exhaust fans
- Cabinet doors and handles
- Ceramic backsplashes
- Microwave and oven doors
- Refrigerator tops
However, avoid its direct use on:
- Raw, unfinished wood (may stain or raise the grain)
- Electronics or screens
- Stone countertops like granite or marble without testing
Always use a damp follow-up wipe to prevent residual soapiness on surfaces.
The role of microfiber in modern cleaning
One of the silent heroes of this technique is the humble microfiber cloth. Unlike paper towels or cotton rags that merely push grease around, microfiber is designed with tiny hook-like fibers that lock in oils and particles. When paired with an emulsifying solution, it becomes a dynamic duo against grime without damaging the finish.
“Microfiber’s ability to trap grease and dust makes it indispensable in green cleaning methods. It’s reusable, eco-friendly, and highly efficient.”
— Dr. Jana Ricci, Materials Scientist
Winners and losers of this method
| Big Winners | Not Ideal For |
|---|---|
| Home users aiming to reduce chemical exposure | Heavily caked industrial kitchen grease |
| Individuals with allergies or skin sensitivities | Raw stone or porous unsealed wood surfaces |
| Families with kids or pets | People demanding ultra-fast spray-and-wipe results |
How to extend cleanliness with fewer cleanups
Maintaining a clean kitchen doesn’t have to require daily deep cleaning. After using the natural degreasing method once every 1–2 weeks, follow with these upkeep strategies:
- Use stovetop splatter guards when frying
- Wipe light spills and oils immediately with a dry towel
- Use duct or mesh filters in exhaust fans and clean monthly
- Keep a spray bottle of diluted soap handy for quick cleanups
Adding these preventative habits can reduce full clean sessions to just once or twice a month.
Short FAQs about natural grease cleaning
Does dish soap really break down kitchen grease?
Yes, dish soap contains emulsifiers that bind grease particles to water, making it easy to wipe off.
Is this safe to use on wooden cabinets?
Yes, on finished and sealed wood. Avoid using on unfinished or unsealed wood to prevent damage.
Can I mix other essential oils into the solution?
Yes, adding a couple of drops of lemon or tea tree oil boosts the scent and antibacterial properties. Test first for sensitivity.
Is this method safe for households with pets?
Yes, as long as the dish soap used is non-toxic and thoroughly rinsed, it’s safe for pets.
Will this work on a stainless steel range hood?
Absolutely, it’s one of the best surfaces for this technique. It restores shine while removing film.
How often should I clean with this solution?
Every 10–14 days is ideal for prevention. Heavy-use kitchens may benefit from weekly use.
Does the temperature of water matter?
Yes, warm water helps loosen the grease faster and activates the soap’s emulsifying capacity better.
What kind of dish soap is best for this method?
Use a concentrated, citrus-based degreasing dish soap—preferably one without artificial fragrances or dyes.