James had always loved gardening—but year after year, his carefully nurtured flower beds ended up drowning in water after just a few days of rain. He tried expensive drain systems, added gravel and even built raised beds. The results were inconsistent at best. Then, while visiting a family friend in the countryside, he stumbled upon an old trick—something his friend referred to laughingly as “core gardening.” Skeptical but desperate, James gave it a try. By the start of next season, not only was his garden thriving, but it also became the healthiest and most vibrant it had ever been.
Across the country, more and more gardeners are turning to natural, low-cost methods to improve their garden’s longevity and soil drainage, and one deceptively simple trick is leading the way. With concerns about chemical use, waterlogging, and sustainable land management on the rise, this approach feels like a long-lost secret coming back into the limelight—and for good reason.
This technique doesn’t just help your garden deal with excess water. It boosts soil health, supports microorganisms, and encourages deep root growth. Best of all, it’s something any home gardener can start with tools they already own and organic waste they’re likely throwing away.
What every gardener needs to know about better drainage
| Technique Name | Core Gardening Method |
| Main Benefit | Improved soil drainage and enhanced soil health |
| Best Season to Implement | Early Spring or Fall |
| Materials Needed | Spade, organic kitchen scraps, compost, mulch (optional) |
| Working Time per Bed | 30–60 minutes |
| Skill Level | Beginner |
| Savings vs Traditional Drainage | $100–$500 per garden bed |
How this simple gardening trick works
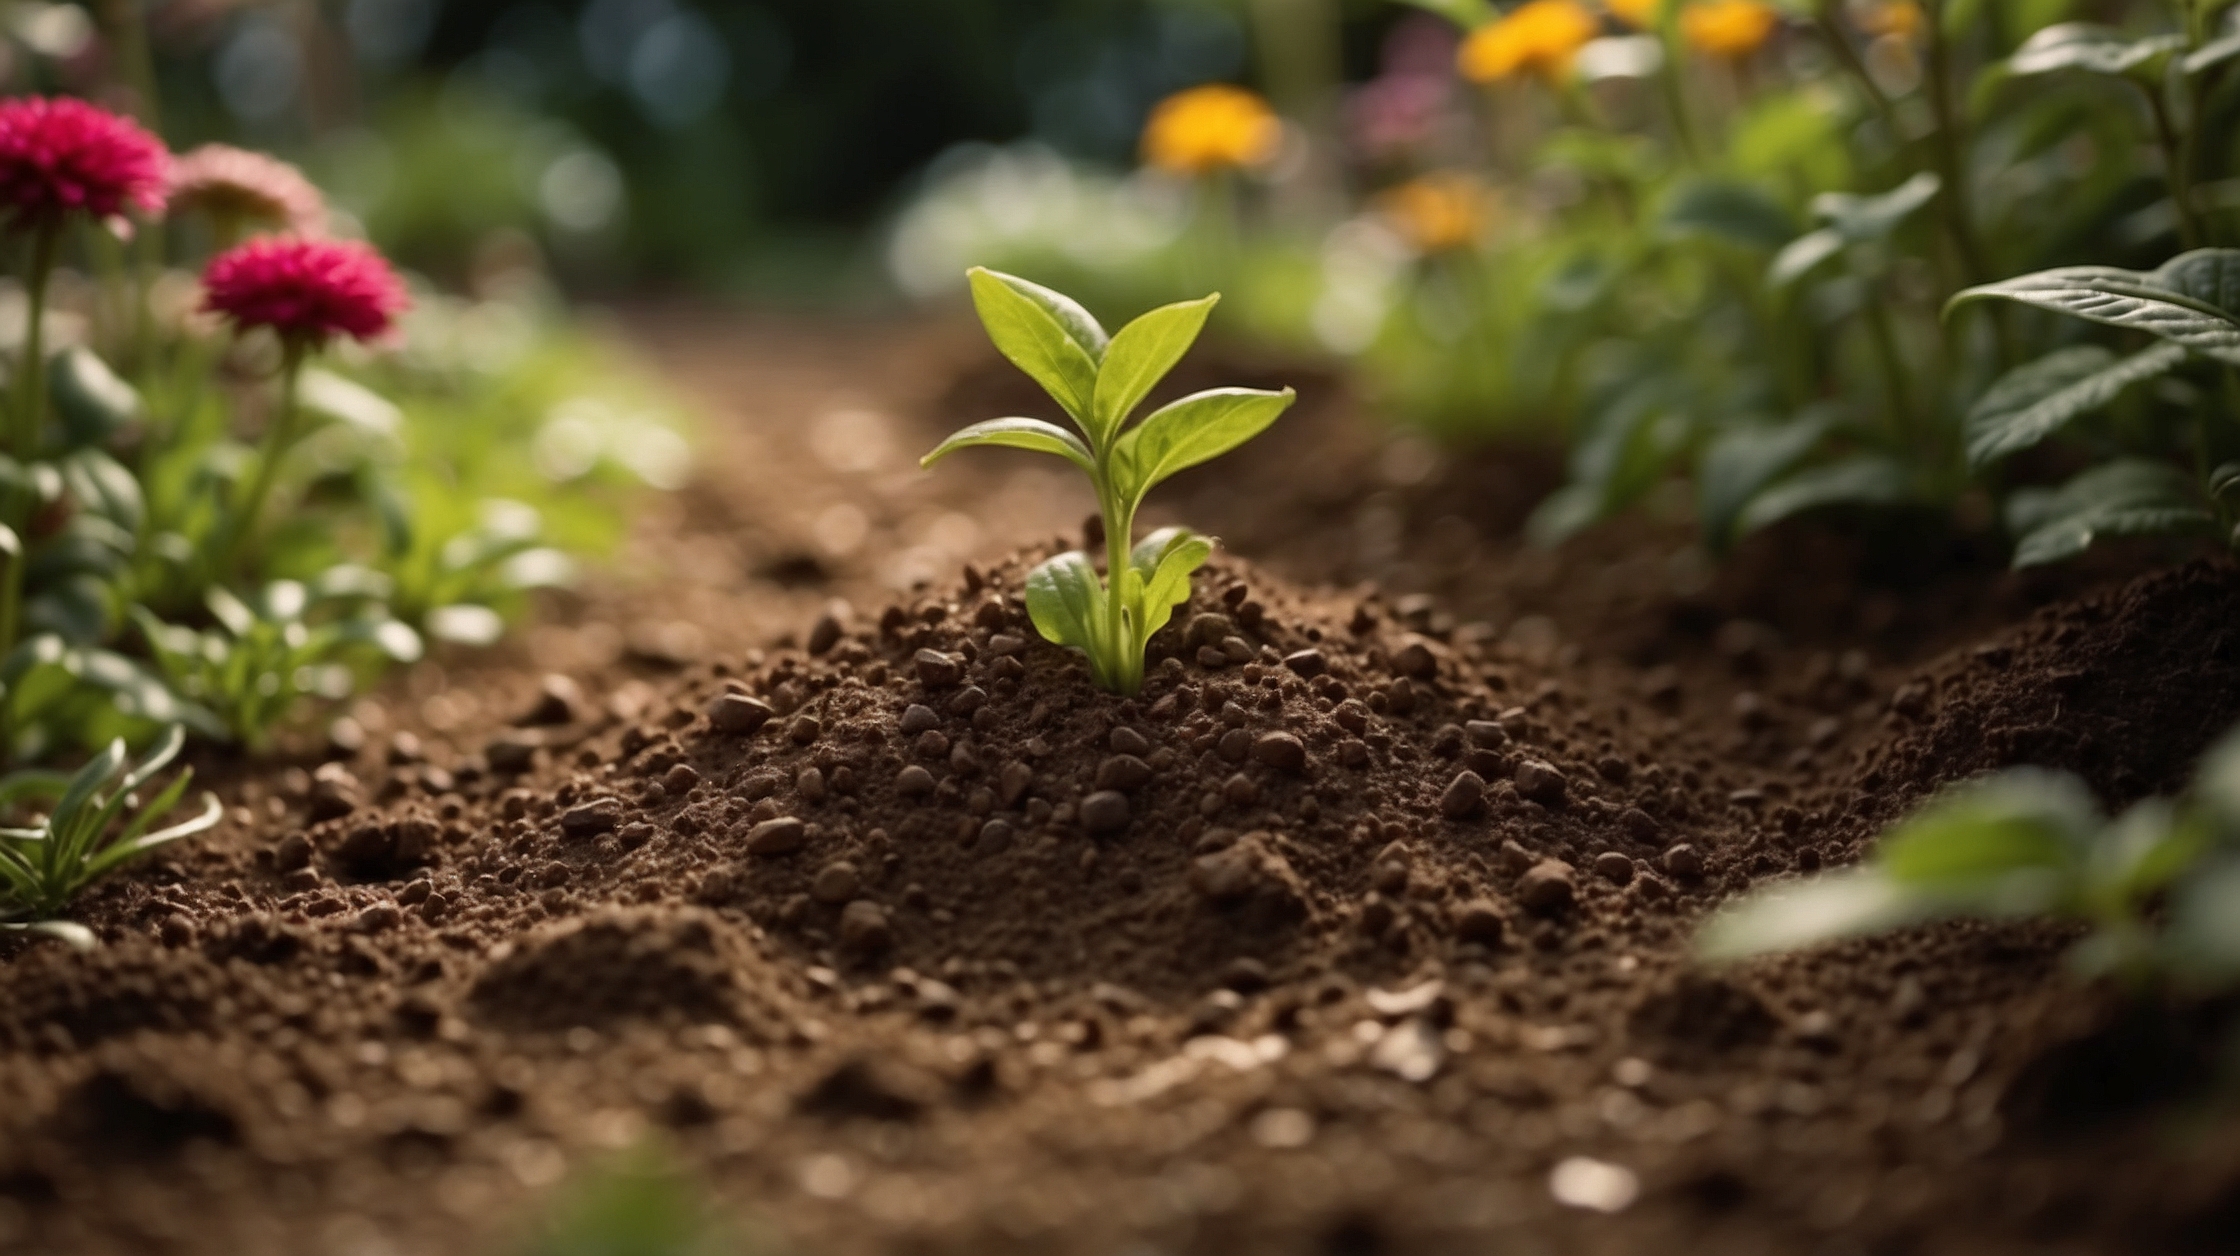
Known informally as the “core gardening” method, this approach involves digging narrow trenches or holes 12–18 inches deep across your garden bed and filling them with biodegradable materials such as kitchen scraps, compostable paper, and garden waste. These buried organic materials break down slowly, creating channels for water to drain smarter and deeper into the soil. Over time, they turn into a rich, sponge-like humus that both holds and redistributes moisture efficiently.
The idea isn’t new—in fact, similar techniques have been used in ancient agriculture around the world—but it’s gaining renewed interest in today’s gardening circles. Unlike French drains or elaborate irrigation systems, this method requires no expensive materials or engineering background. Anyone with a shovel and some patience can try it.
It’s like installing a sponge beneath your garden. You’re feeding the soil while making it smarter about how it holds water.
— Karen Wong, Organic Horticulture Specialist
Why improved drainage matters more than ever
With climate change bringing about unpredictable weather patterns, especially heavier rains in some regions, poor drainage is no longer just a nuisance—it’s a garden killer. Waterlogged roots rot fast, and without enough oxygen in the soil, even the healthiest plants can quickly fail. But modern drainage systems don’t come cheap, and few average gardeners can afford large-scale solutions.
Using organic waste to enhance drainage in a natural way not only saves money but also contributes to a more sustainable gardening cycle. Instead of dumping scraps into the trash or even the compost bin, they’re placed directly into the soil where they can provide nutrients, host beneficial microbes, and act as a slow-release fertilizer over time.
Dig and dump isn’t just smart—it’s regenerative. You’re closing the loop on your organic waste while making your garden self-sufficient.
— Dr. Eliza Freeman, Soil Ecologist
Exactly how to apply the core gardening technique
If you want to implement core gardening in your backyard or raised bed, follow these steps:
- Plan the layout. Mark out your garden bed and determine where you want to dig your trenches or holes. Spacing them around 1–2 feet apart ensures even coverage.
- Dig deep holes or trenches. Using a sturdy spade, dig down 12–18 inches and about 6 inches wide. The deeper the better for moisture management.
- Fill with organic material. Layer in kitchen scraps (no meat or dairy), garden trimmings, shredded paper, and even rolled-up newspaper. These will act as your soil sponge.
- Backfill with the original soil. Once filled, cover the trench back up. You can add compost or aged manure before filling if desired.
- Water and mulch. Give the bed a good soak and top with mulch to retain moisture and prevent erosion.
What you should and shouldn’t bury
Not all organic material breaks down at the same rate—or in the same way. Use the following guide:
| Good Additions | Vegetable peels, coffee grounds, eggshells, newspaper, cardboard, dead leaves |
| Avoid These | Dairy, meat, oily food, pet waste, plastic-coated paper, diseased plant material |
Stick to biodegradable materials from plants and kitchen preps. Always avoid anything that might attract pests or contribute to soil-borne diseases.
The long-term benefits of in-soil composting
Beyond improved drainage, in-soil composting nurtures your garden’s microbial life. As the organic matter breaks down, it creates colonies of bacteria and fungi that enrich the soil. Over time, garden beds become more biodiverse and healthier. Richer soil means fewer fertilizer needs, stronger plant roots, and higher yields—whether you’re growing tomato plants or tulips.
Another benefit? You reduce household waste naturally. Instead of hauling bags of compost or dumping scraps in distant compost sites, you’re transforming waste right at the point of use. It’s smart, efficient, and incredibly low-maintenance.
Who this method works best for
| Winners | Losers |
|---|---|
| Urban and suburban gardeners | Areas with heavy clay that require extensive trenching |
| Gardeners with organic kitchen waste | People needing quick results in extremely wet zones |
| Eco-conscious homeowners | Those unwilling to dig or handle compostables |
Tips to get the most from your garden transformation
To maximize results, rotate the trench lines each year so new soil zones get enriched. Use a compost activator like diluted molasses or kelp spray for faster decomposition. In drier months, water the buried zones occasionally to keep microbes active. And don’t forget to mulch—the final layer of mulch helps lock in the moisture and keeps weeds at bay.
My yields nearly doubled the second year I used core gardening. The soil improved so noticeably, even my neighbors started asking about it.
— Maria T., Home Gardener in Illinois
Frequently Asked Questions
Can I use this method in raised beds?
Absolutely. Core gardening works exceptionally well in raised beds since the trenching and soil structure can be controlled more easily.
How long does it take to see improved drainage?
Most gardeners notice dramatic improvements within 4–6 weeks, depending on the amount of organic material used and climate.
Will this attract pests?
If done correctly and kept covered, in-ground composting won’t attract pests. Avoid adding meat, dairy, or oily foods.
Do I need to repeat this every year?
Yes, but you can rotate where you dig each season. As previous trenches continue to break down, the soil will stay enriched for years.
Can I plant directly over the filled trenches?
Yes, but wait 2–3 weeks after filling to allow initial decomposition and temperature regulation in the soil.
Can this method help in drought-prone areas?
Yes. Once the material breaks down, it retains moisture and supports deeper root structures, which are critical in dry spells.
Is this the same as Hügelkultur?
It’s different. Hügelkultur uses logs and large woody debris mounded above ground, while core gardening is beneath the soil level and faster to set up.
What tools do I need to begin?
A basic garden spade or trenching shovel is sufficient. Gloves and a pitchfork can also be helpful for spreading mulch.