Sarah stared at her kitchen counter in mild panic. The brioche dough she’d been nursing for two hours sat in its bowl, perfectly risen and ready for its final rest. But the cling film drawer was empty, and her dinner guests would arrive in three hours. She’d experienced this frustration before—that sinking moment when everything hinges on covering the dough properly, yet the plastic wrap has vanished.
What Sarah didn’t realize was that her missing cling film might actually be a blessing in disguise. The secret to perfect dough texture isn’t about creating an airtight seal—it’s about managing moisture in a way that keeps the surface supple and ready to rise.
“Most home bakers think covering dough is about keeping air out, but it’s really about keeping moisture in,” says a professional pastry chef. “The surface needs to stay flexible, not suffocated.”
| Covering Method | Moisture Control | Environmental Impact | Cost |
|---|---|---|---|
| Cling Film | Can trap excess condensation | Single-use plastic waste | Ongoing expense |
| Damp Tea Towel | Perfect humidity balance | Reusable, eco-friendly | One-time purchase |
| Bowl Lid/Plate | Good for short rests | No waste | Use existing items |
| Glass Container | Excellent for overnight proofing | Fully reusable | Medium investment |
Why Surface Moisture Determines Your Final Results
The science behind dough texture centers on one crucial factor: preventing the formation of a dry skin on top. When exposed to air, especially in heated or air-conditioned spaces, dough loses moisture rapidly from its surface.
This creates a thin, leathery barrier that fundamentally changes how your dough behaves. Instead of stretching smoothly as gases expand during rising, the dried surface cracks and tears. Gas escapes through these fissures rather than pushing the dough upward in an even dome.
If you’re making pizza dough for weekend dinner, then uncovered resting leads to tough, uneven crusts that resist rolling. If you’re preparing brioche for Sunday breakfast, then surface drying results in dense texture and poor oven spring. If you’re working with tart pastry for a special dessert, then dried edges crumble and tear during shaping.
The Hidden Science Behind Dough Rest Periods
During any rest period—whether 30 minutes for pastry or two hours for enriched bread—three critical processes occur simultaneously. Gluten strands relax and reorganize, making the dough more pliable. Yeast produces gas bubbles that organize into the structure that creates light, airy texture. Fermentation develops deeper flavors and subtle sweetness.
If you’re proofing overnight in the refrigerator, then maintaining surface moisture becomes even more critical. Cold air holds less humidity, making drying happen faster than at room temperature. If you’re working in winter with heated indoor air, then the low humidity can create a skin in as little as 15 minutes.
“The difference between good and great bread often comes down to how well you manage moisture during the rise,” explains a bakery consultant. “Professional bakers use proof boxes that control humidity precisely—home bakers can achieve similar results with simple techniques.”
Converting Kitchen Items Into Dough Covers
Your kitchen already contains numerous alternatives that work better than cling film for protecting dough. The key principle remains constant: create a pocket of slightly humid air around the dough without trapping excessive condensation.
- Large dinner plates inverted over bowls create excellent seals for medium portions
- Casserole lids work perfectly for dough resting in pans or pots
- Glass storage containers with lids excel for overnight refrigerator proofing
- Cake domes or cheese covers handle large batches on trays or cutting boards
| Dough Type | Rest Duration | Best Cover Method | Special Considerations |
|---|---|---|---|
| Pizza Dough | 1-24 hours | Damp towel or container | Oil container lightly |
| Brioche | 2-12 hours | Damp cloth over bowl | Check towel moisture hourly |
| Tart Pastry | 30 minutes-2 hours | Plate or lid | Prevent sticking with flour |
| Sourdough | 4-24 hours | Breathable cover | Allow some air circulation |
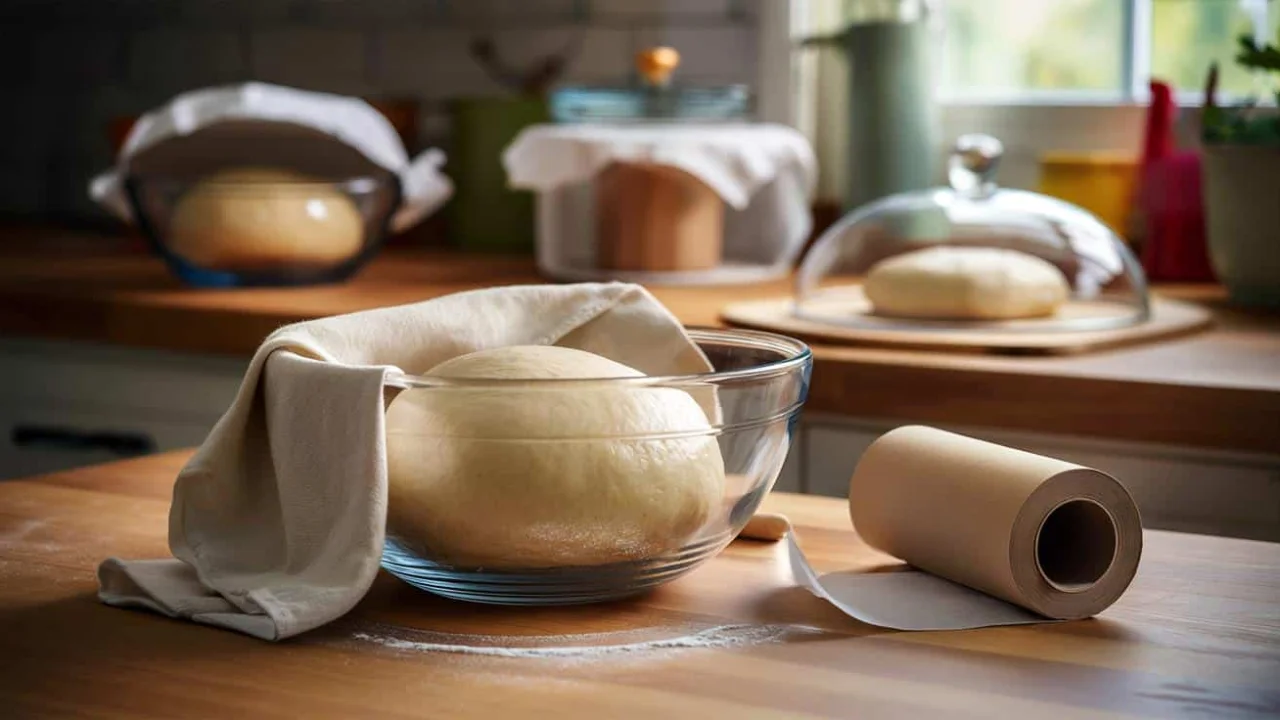
The Damp Towel Technique That Changes Everything
Professional bakers have relied on this method for centuries, long before plastic wrap existed. A clean, slightly damp tea towel creates the ideal microclimate for developing perfect dough texture. The fabric absorbs water and releases it slowly, forming gentle humidity that prevents surface drying without creating soggy conditions.
The technique requires minimal effort but delivers maximum results. Choose a clean towel without strong detergent scents that might transfer to food. Wet it with lukewarm water, then wring thoroughly until it feels moist but not dripping. Place it loosely over the dough, either directly on the surface or draped over the bowl rim.
For longer rises, check the towel periodically. When it feels nearly dry, re-dampen briefly under the tap and replace. This simple adjustment prevents the formation of that dreaded skin while allowing the dough to breathe naturally.
Emergency Solutions When Everything Runs Out
Even the best-prepared kitchens sometimes face shortages. When cling film is gone and towels are in the wash, creative solutions using common items can save your bake.
A sheet of damp baking paper laid gently on the dough surface provides temporary protection. A clean plastic bag inflated slightly and secured around the bowl creates a humidity chamber. Even aluminum foil, though less ideal, can prevent surface drying if loosely draped over the container.
The most effective emergency technique involves placing a small cup of hot water next to your covered dough. This creates localized humidity that compensates for dry air conditions, especially useful during winter months when indoor heating reduces moisture levels dramatically.
“I’ve seen home bakers rescue seemingly ruined batches by understanding that moisture management is more forgiving than most people think,” notes a baking instructor. “The dough wants to work with you—you just need to give it the right environment.”
Recognizing and Fixing Dried-Out Dough
The symptoms of neglected dough are unmistakable once you know what to look for. The surface appears duller and darker than the interior. Light pressure reveals a firm skin that resists gentle poking. Edges crumble rather than stretch when you attempt to roll or shape the dough.
Recovery techniques can salvage most situations, though prevention always yields better results. Mist the surface lightly with cold water using a spray bottle or pastry brush. Cover with a damp towel and allow 15-30 minutes for rehydration. For severe cases, knead very briefly with wet fingertips to blend the dried crust back into the softer interior.
These rescue methods work best with yeasted doughs that still need rising time. Rich pastries with high butter content become greasy or tough when overworked, making prevention absolutely crucial for delicate batches.
Frequently Asked Questions
How long can dough sit uncovered before forming a skin?
In typical indoor conditions, dough develops a surface skin within 15-30 minutes of exposure to air.
Can you use plastic bags instead of cling film?
Yes, clean plastic bags work well when loosely secured around bowls to create humid air pockets.
Does the water temperature matter when dampening towels?
Lukewarm water works best—hot water can encourage unwanted bacterial growth, cold water doesn’t provide enough humidity.
How do you prevent towels from sticking to sticky dough?
Dust the dough surface lightly with flour before covering, or place the towel over the bowl rim instead.
What’s the best covering method for overnight refrigerator proofing?
Glass containers with tight-fitting lids work perfectly, preventing both drying and absorption of refrigerator odors.
Can aluminum foil replace cling film for covering dough?
Foil prevents drying but doesn’t provide humidity—it’s better than nothing but not ideal for optimal texture.
Professional Tips for Consistent Results
Understanding hydration ratios helps predict how your dough will behave under different covering conditions. Higher hydration doughs (60% and above) are more susceptible to surface drying but also more forgiving when repairing damage. Lower hydration doughs develop skins faster but may crack irreparably if neglected too long.
Environmental factors play crucial roles in moisture management. Heated homes in winter and air-conditioned spaces in summer both create challenging conditions for dough texture development. Compensate by increasing humidity around your covered dough or reducing rest times in extremely dry conditions.
The investment in proper covering techniques pays dividends across all types of baking. Fresh pasta sheets stay pliable longer when covered correctly. Cookie dough waiting on trays maintains consistent moisture for even baking. Dumpling wrappers remain flexible for clean folding and sealing.
Key takeaways for perfect dough every time:
- Focus on moisture management rather than airtight sealing—damp towels often outperform plastic wrap
- Prevention is always easier than repair—cover dough immediately after mixing or shaping
- Environmental awareness matters—adjust your covering techniques based on humidity, temperature, and rest duration